Zanzibar gem or Zamioculcas Zamiifolia aka ZZ plant is a decorative flowering plant, from the Araceae family. This perennial species of Zamioculcas is native to the tropical regions of eastern Africa.
The waxy and sleek foliage of this plant gives it a spectacular elegancy. Thus, you will find several people use the potted ZZ plants to embellish their office or home interior commonly.
Here are some imperative facts about a growing ZZ plant, you should know to handle a growing one more expertly-
Why Are MY ZZ Plant Leaves Turning Yellow?
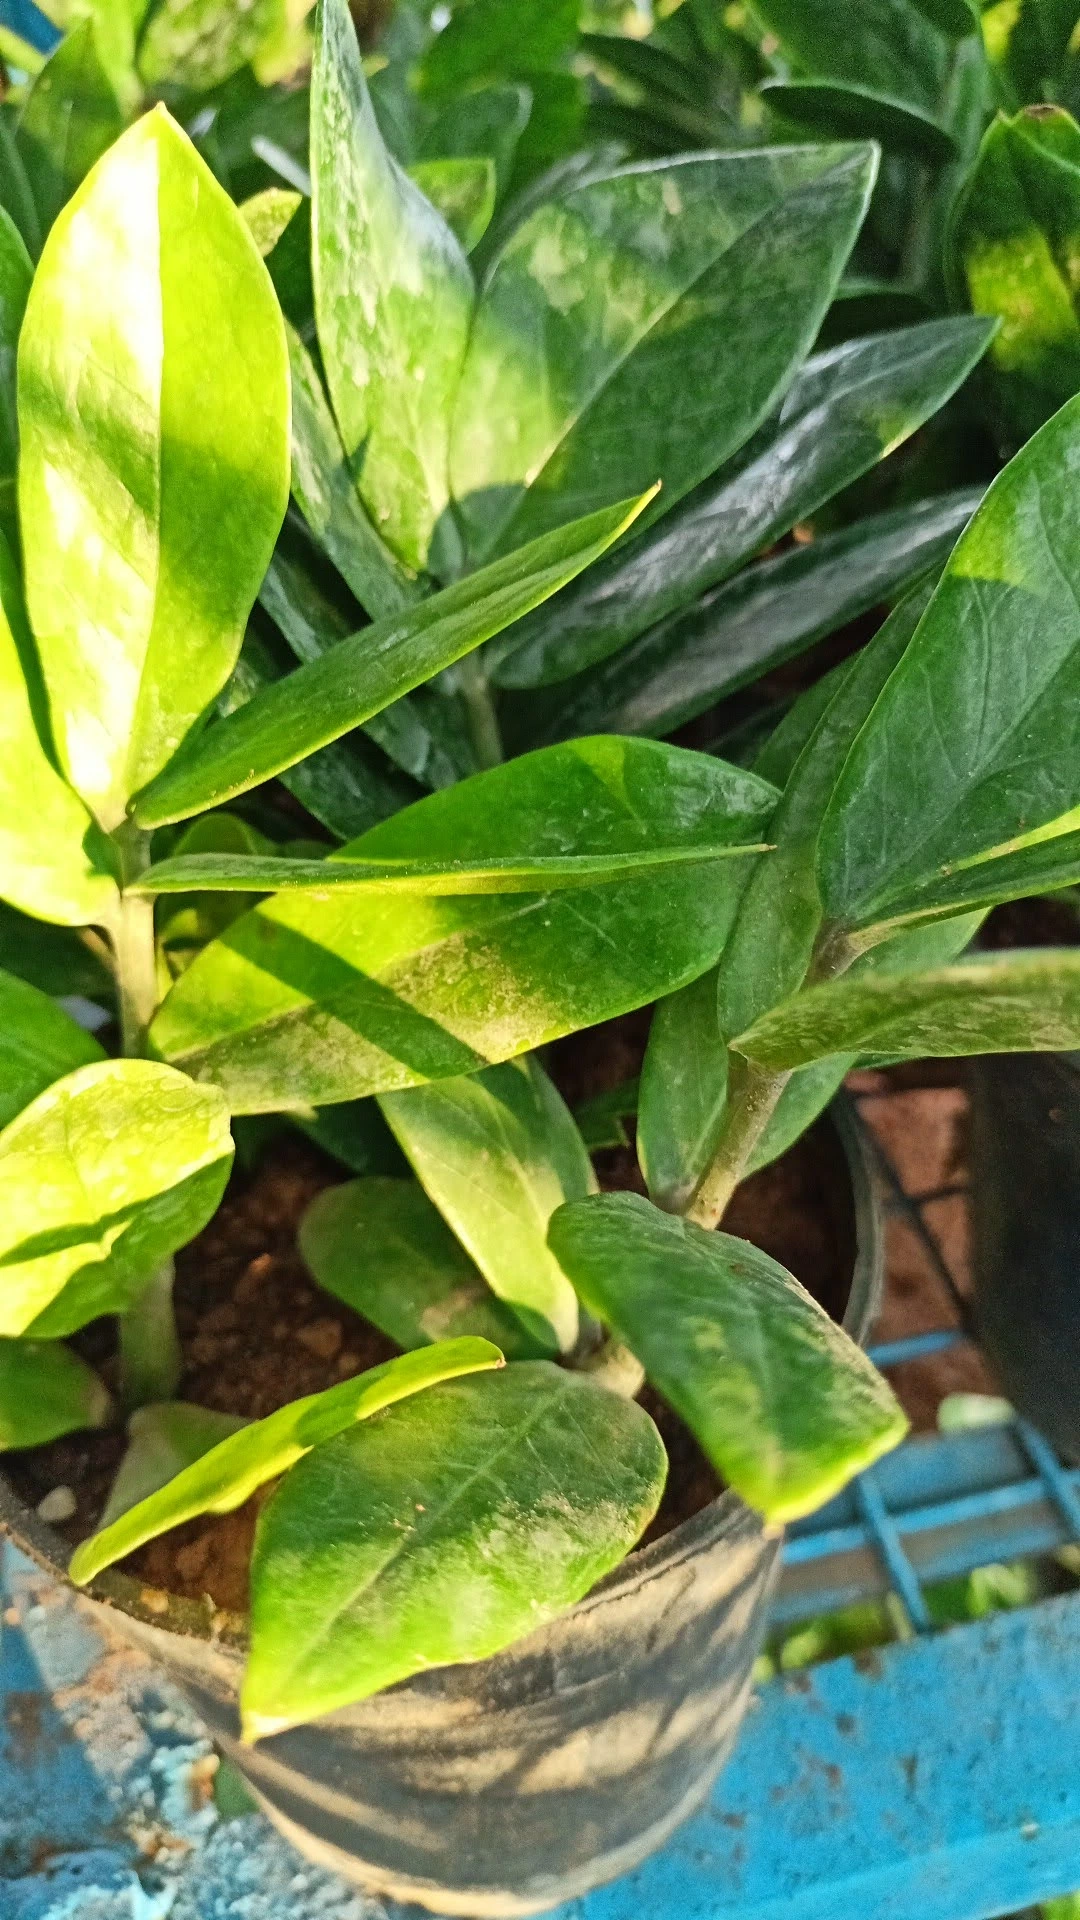
The main attraction of growing a ZZ plant is its exclusive and unique-looking leaves. What if those leaves suddenly start turning yellow or losing their color without giving any clue?
Well, be sure that your plant must have suffered from some caring issue. Here are a few possible causes along with their solutions ides in this attempt-
Causes:
- Direct light exposure
- Root damage due to soggy soil
- Water stress due to frequent watering, more or less water
- Untreated pests
- Inconsistent pruning session
How to Fix:
- Keep your planer under bright but low light, and away from direct sun exposure
- Make sure you sow your plant in a well-drained medium. The planter must have a good drainage system as well
- Use diluted water, apply only the exact amount of water, that your ZZ plant needs
- You can try only 1-1.5 inch deep watering in this regard to keep the consistency perfect
- Treat any pest or bug issue on your plant, at their beginning stage
- And keep trimming any yellow, old, or discolored foliage from your plant immoderately in the first place.
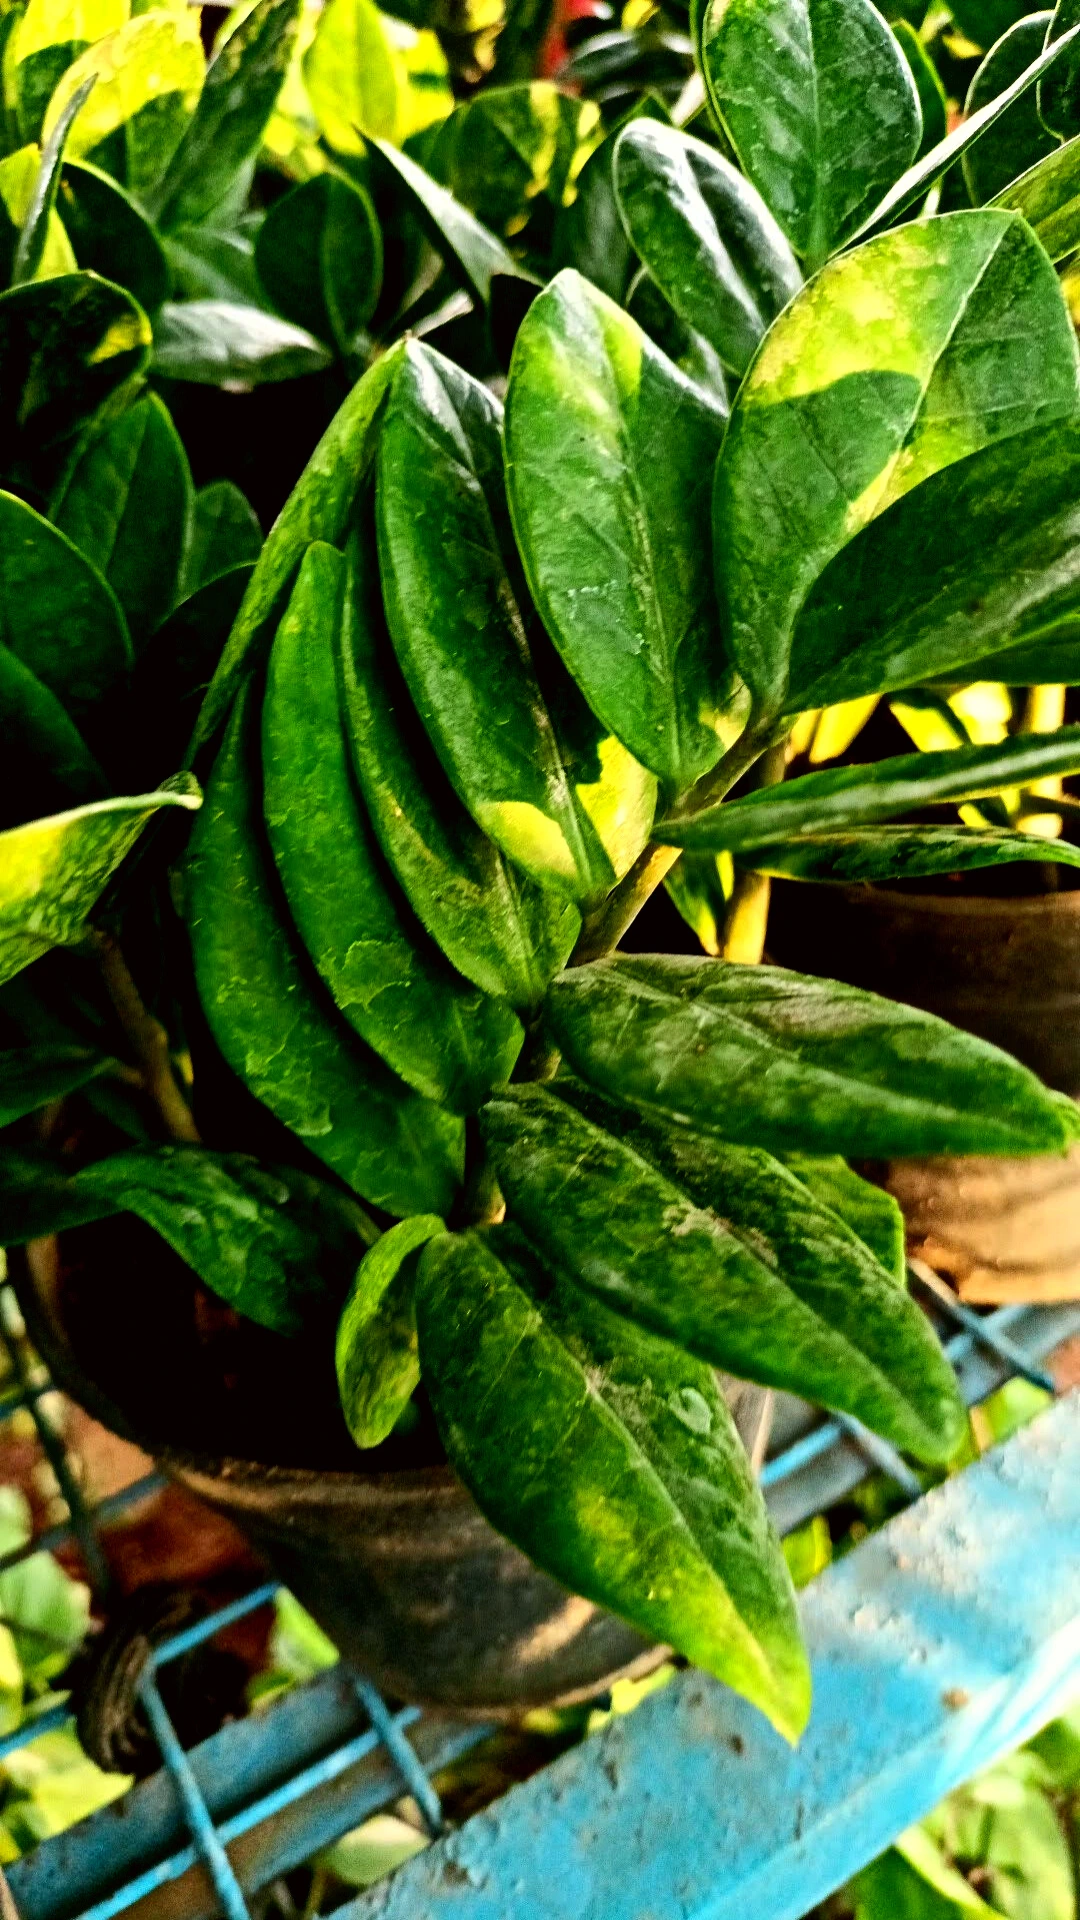
Why Is My ZZ Plant Getting Brown Spots?
Like the yellowing leaves, brown spots on the waxy foliage or stem of a growing ZZ plant seem extremely ugly. They also lead your plant towards some deadly outcomes as well, when you keep them untreated for long. Hence, let’s find out what causes these brown spots and how to deal with them efficiently in our discussion below-
Reasons:
- Fungal infestation in the soil or sap
- Low humidity
- Dry soil
- Using low-quality water
- Attack of insects
How to Deal With That:
- Always make sure that you use a fresh and healthy soil mixture to plant your ZZ plant
- Use an artificial humidifier or mist the leaves of your plant. Remember that you must keep the humidity level of the place always high, where you placed your ZZ plant
- Do not keep the soil dry for long by thinking that it is a drought-tolerant
- You must water your plant once every 2-2.5 weeks, especially in the summer
- Use distilled or filtered water instead of normal tap water
- And treat the attack of pests and bugs or any insect that is feeding on the sap or stem of your growing ZZ plant.
ZZ Plant Complete Care:
Soil Type and How often to Water:
A ZZ plant claims a soil type that is loose, sandy, and well-drained. Prepare the soil with perlite or sand with a good mix of standard potting soil. Keep the pH level between neutral to slightly acidic.
ZZ plants have thick rhizomes which can hold the moisture for a long while. Thus, you don’t need to water them more frequently. This species is also drought-tolerant, so, water it once every 14-16 days. Let the soil soak a bit between watering.
Sun Exposure and Climate:
Despite being of tropical origin, ZZ plants prefer low and indirect light to thrive well. Sometimes, you might want to provide a bright light to keep fungal or bacterial-free. Make sure the source is indirect sun or sun with proper shade, without being direct ever.
Your plant will grow best when staying under a moderately warm temperature like in a normal home environment. Keep the temperature between 60° to 75° F with a high humidity level to cater to the ZZ plant’s best thriving condition.
Proper Fertilization:
You don’t need to feed your growing ZZ plant regularly, just fertilize it once a month, especially during the growing seasons. Use a diluted form of normal all-purpose fertilizer in a 20-20-20 NPK ratio.
Be certain to use a fertilizer that is half of its strength, as strong fertilizer may hamper the leaf quality damagingly. Make the soil damp a little by misting before each course of fertilization.
Pruning and Repotting:
A growing ZZ plant needs pruning throughout the year, as they often have yellow foliage, after every few days. You should trim off all the dead, yellow, and damaged leaves during this process. Also, remove dead or dying stems from a growing ZZ plant.
If you find that any stem or tiny branches of a ZZ plant seems unusually long, nip off them too. If you don’t prune your plant attentively in time, your ZZ plant may start having troubleshot issues soon.
A ZZ plant doesn’t need a repotting session often. You can do this only one or two times in your whole lifespan. Simply choose a 2-3 inches bigger planter and fresh potting mix to do the process perfectly.
Pests and Bugs:
Blight, aphids, scales, mites, fungus gnats, mealybugs, whiteflies, etc. are some common pests and bugs, you will often find around a growing ZZ plant.
Treat them with liquid dishwasher soapy water or neem or flush of water. These remedies will help you to get rid of those stubborn insects permanently without creating any damage to your plant.
How To Propagate ZZ Plant Propagation:
A ZZ plant could be propagated through two clear courses-divisions and by stem cuttings. Between these two methods, we recommend you avoid the stem cutting regrowing process as it claims a lot of patience to do.
A stem-cutting regrowing session needs almost 8-9 months to initiate new roots. On the other hand, propagation by the division can take merely 4-6 weeks to initiate new shoots or roots. Here we emerge with a clear method of propagation of the ZZ plant through division in this regard-
Supplies You Need:
- A sterilized cutter
- A sprayer
- A new set of pots
- New potting soil
How to Do It:
- Make the soil of the parent plant damp a little by sprinkling some flush of water
- Now, you should dig up the whole plant carefully
- Separate the tuber using a cutter
- Make sure that your every division has growing stems and roots
- If you find that any segment, gets hurt during the division through a blade or cutter, let it heal
- Keep it in a dry and open area to get healed naturally for a couple of hours
- Bring the pot that must be cleared and disinfected properly
- Pour a fresh mix of potting soil and simple some water over the soil
- Dig a hole in the middle and sow a division through that hole carefully
- You need to repeat the process with all your divisions, one by one
- Finally, place the planter in a warm, high-humid spot and let it thrive uninterruptedly.
How Poisonous is a ZZ Plant?
A ZZ plant is heavily poisonous, as all parts of this plant have toxic content. It is poisonous not only to cats, dogs, or house pets but also to humans. Its single touch can initiate some serious skin irritation to a person or an animal intensely.
Why Is This Poisonous?
- It belongs to the poisonous Araceae family
- It can produce the toxic component calcium oxalate
- The crystal-like substance with sharp edges found in this plat causes skin irritation as well
What Could Be the Reactions?
- Vomiting
- Dehydration
- Allergic symptoms
- Stomach ache
- Potential diarrhea
- Skin allergies
- Eye irritation
- Mucous membranes
- And sometimes death or near-the-death experience
How to Tackle the Situation:
- Wash the mouth and hands of the person or pet, who touches the plant
- Encourage the person to vomit instantly
- Take the person or the pet to the nearest medical center immediately
- And try to provide serious medical attention right away
Finally, take proper precautions to keep the ZZ plant away from the reach of your pet or kids, or even yourself attentively.